


 & HDD (Hard Disk Drive)?")


The term “Boot” in the tech world traces its lineage back to the phrase “bootstrap”, a nod to the classic saying “to pull oneself up by one’s bootstraps”. It’s all about achieving greatness without leaning on any outside help—quite the independent spirit! In computing, this evolved into describing a computer’s self-starting prowess, much like the idea of lifting oneself up by those metaphorical bootstraps.
When we say “to boot”, we mean getting that computer engine revving;
Booting is the magic spell that sets off a series of events: the system wakes up its hardware, runs diagnostics like a pro athlete warming up, loads up the Operating System (OS) or your must-have bootable software, and then gets all dolled up for you to interact with it.
This ballet of technology involves the computer’s BIOS, or the fancier UEFI firmware, Boot Loaders, and a bunch of behind-the-scenes tech wizards working in harmony to make your computer a usable wonderland.
Let Me Deeply Explain The Whole Booting Process
Let’s peel back the layers of the boot-up process, starting with the BIOS/UEFI kicking things off and ending with that familiar user interface popping up. We’ll give you the full rundown on how your computer gears up for action and gets ready to take your commands. Strap in; it’s going to be a wild ride through the tech underworld of boot-up sequences!
Step #1: BIOS/UEFI Initialization
At the core of your computer’s tech ecosystem are the BIOS and UEFI firmware. These aren’t just fancy acronyms; they’re the maestros orchestrating the hardware and acting as the interpreter between the physical bits and your operating system (OS). When you hit that power button, it’s the BIOS or UEFI firmware that takes the stage first, setting the scene for the grand booting performance.
At first, the BIOS or UEFI firmware kicks off with a Power-On Self-Test (POST). Think of POST as the computer’s health check-up—a thorough diagnostic to ensure everything from the CPU and RAM to your storage and peripherals are in tip-top shape. If there’s a hiccup, POST is quick to flag it, making sure any issues that could trip up your booting experience are brought to light.
Assuming POST gives the all-clear, the BIOS or UEFI firmware rolls up its sleeves to get the hardware party started. This includes fine-tuning the system’s chipset, dialing in memory (RAM) and cache settings, and getting all those input/output (I/O) interfaces in sync.
It’s also on the lookout for connected storage devices—Hard Disk Drives, SSDs, Optical Drives—and making sure they’re ready to rock. Plus, it prepare the system to scout for all-important partitioning scheme information from the bootable device and kick off the bootloader, setting the stage for your normal OS, or maybe a Live OS, or some bootable software to take the spotlight.
Step #2: Reading Partitioning Scheme
When it comes to defining how storage space is managed on your hard drive or SSD, MBR (Master Boot Record) and GPT (GUID Partition Table) are the two big players in town.
These partitioning schemes not only dictate the layout of disk partitions but also have a say in how the boot loader finds and loads your operating system (OS) and other vital software during the boot-up dance. Think of them as the architects of your storage device, laying out the blueprints for your disk partitions.
- MBR has long been the go-to partitioning scheme for BIOS-based systems. Positioned snugly in the first sector (sector 0) of your storage device, MBR comprises three main components: the boot loader, the partition table, and the disk signature. This setup dictates how the boot loader finds and loads the operating system (OS) and other vital software during boot-up.
- On the other hand, GPT is the sleek, modern streaming service of partitioning, introduced with the UEFI spec to keep up with the times. It sports its own boot loader code, but instead of squeezing it into the first sector, GPT stores it in a dedicated EFI System Partition (ESP). This special partition, formatted with the FAT32 file system, houses not only the boot loader but also the boot manager and other essential UEFI firmware bits. GPT’s flexibility and modern design make it the preferred choice for newer UEFI-based systems, offering enhanced features and support for larger storage capacities.
Step #3: Boot Loader Execution
With the partitioning scheme information, all warmed up and ready to go, the BIOS or UEFI firmware embarks on a quest to find the Bootloader. This tiny but mighty program resides in the boot sector of one of the bootable devices connected to your system—be it the trusty internal hard drive, a speedy SSD, a handy external USB Flash Drive, or even a network boot server.
The search isn’t random, though; it’s guided by the boot order you’ve set up in the BIOS or UEFI settings. This order dictates the sequence in which the system hunts for these bootable devices, ensuring everything is as per your preferences.
Once the boot loader is located, the BIOS or UEFI firmware graciously hands over the reins. The boot loader’s mission? To load the OS kernel into memory and kickstart the entire booting process.
It basically sets up the initial environment required for the operating system to thrive and takes charge of launching the OS, along with other indispensable software and system services that keep your computer ticking.
In short, the boot loader is the unsung hero that bridges the gap between your hardware and the operating system, ensuring a smooth and seamless booting experience.

Step #4: Operating System and Software Initialization
Imagine that the bootloader is like the bouncer of your computer’s exclusive club. It checks the guest list, nods approvingly at the OS kernel, and lets it strut into the party—aka your computer’s memory.
Once the OS kernel is in, it’s showtime!
Now, the OS kernel? That’s your computer’s maestro, the one directing the orchestra of system resources, services, and hardware-software chats. It’s the VIP of the operating system, making sure everything from your CPU to your RAM is in perfect harmony.
But wait, there’s more! The OS isn’t a one-trick pony. It’s got a lineup of backstage crew members—system services, device drivers, and other essential software. These system services? They’re the unsung heroes, working tirelessly in the background to keep the show running smoothly. Whether it’s networking, file sharing, printing, or security, they’ve got it covered.
And hardware device drivers? Think of them as the interpreters, making sure your OS can have a heart-to-heart with all your hardware without any awkward silences.
- What Are Computer Hardware Drivers & Why We Need It?
- What Is A Chipset Driver, And How To Install It?
- Motherboard Drivers – What It is & Mainly, How To Install It?

Step #5: User Interface Presentation
Alright, let’s tie up this tech journey with a neat bow! After the operating system wraps up its initialization dance, it rolls out the digital red carpet for you—the login screen, or GUI. Think of it as your computer’s front door, welcoming you into its world of endless possibilities.
So, there you stand, face to face with the login screen. It’s like a digital bouncer, asking for your username and password. This isn’t just busywork; it’s your computer’s way of making sure you’re the real deal. Once you’ve proven your identity with the correct username and password, consider the gates to your personalized digital kingdom officially open.
So, from boot loader to login screen, the operating system has guided you through its startup symphony, setting the stage for whatever digital adventures await you next.

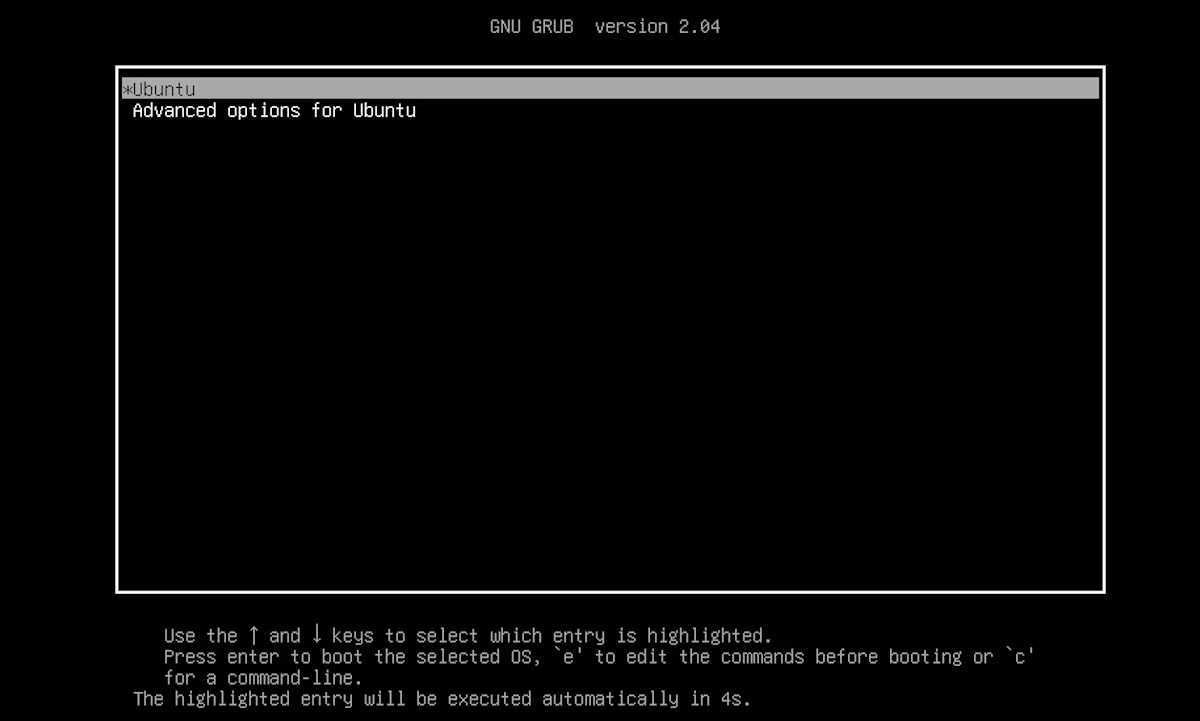
#1: GRUB (GRand Unified Bootloader)
GRUB, the undisputed rockstar of the Linux boot loader scene! This powerhouse has earned its stripes as one of the most beloved boot loaders in the Linux universe. With its unparalleled flexibility and robustness, GRUB is the go-to choice for those who demand more from their boot loader. Whether you’re juggling multiple operating systems or just want a slick, user-friendly menu to choose from at boot time, GRUB delivers with style and flair.
Features
- Multi-OS Support: Think of GRUB as the polyglot of bootloaders. It chats fluently with Linux, Windows, macOS, and even those Unix-like systems.
- Flexible Configuration: With its grub.cfg file, GRUB says, “Why settle for vanilla when you can have a sundae?” Customize boot options, set priorities, and craft your own boot entries.
- Advanced Boot Features: Chain-loading? GRUB does it with flair, seamlessly booting other bootloaders or managers like it’s hosting a tech talent show.
#2: LILO (LInux LOader)
LILO, the seasoned veteran of the Linux boot loader arena! While it may not be grabbing headlines like its flashy counterpart, GRUB, LILO still commands respect in the Linux community. This no-nonsense boot loader gets straight to the point, loading up the Linux kernel with a reliability that’s hard to beat. And don’t let its focus on Linux fool you; LILO can also roll out the red carpet for other operating systems when needed.
Features
- Single OS Booting: LILO’s like that friend who’s always been loyal to Linux, sticking to booting a single Linux OS like glue.
- Configuration File: Using its lilo.conf file, LILO lays down the law, defining boot options and kernel parameters. It’s the minimalist approach to bootloading.
- Less Flexible: LILO’s motto: “Less is more”. Except when it comes to customization. Then it’s just… less.

#3: Windows Boot Manager
Windows Boot Manager, the gatekeeper of the Microsoft Windows realm! This default boot loader is the unsung hero that springs Windows to life from its designated boot partition. But wait, there’s more! The Windows Boot Manager isn’t just a one-trick pony; it’s also adept at managing the delicate dance of dual-boot configurations. Whether you’re pairing different versions of Windows or venturing into the Linux landscape, the Windows Boot Manager orchestrates it all with finesse.
Features
- Windows-Centric: Designed for Windows, by Windows, about Windows. Non-Windows OS users? You might get the cold shoulder because it may not fully support or recognize non-Windows operating systems.
- Graphical Interface: Who needs text when you can have pretty pictures? Windows Boot Manager offers a graphical menu, making booting a visual delight.
- Integration with Windows Recovery: Need to recover? Windows Boot Manager’s got your back, seamlessly integrating with recovery tools like a superhero sidekick.

#4: UEFI (Unified Extensible Firmware Interface) Boot Manager
UEFI Boot Manager, the sleek and modern successor to the traditional BIOS firmware interface! Nestled within the UEFI firmware interface, this forward-thinking boot manager is the maestro that takes charge of booting your operating system. It casts aside the old BIOS ways and instead focuses on loading the OS from the EFI System Partition (ESP) on your storage device. With its updated approach and streamlined operations, the UEFI Boot Manager promises faster and more efficient boot times.
Features
- Secure Boot: UEFI’s the bouncer at the boot party, ensuring only verified guests get in with its Secure Boot feature.
- Fast Boot: Why wait? UEFI promises quicker boot times, zipping through initialization like a pro.
- Advanced Boot Options: Dive into UEFI’s settings menu and customize to your heart’s content. Manage boot priorities, tweak configurations, and lock down security features. It’s booting with options, my friend!

#5: Syslinux
Linux-based system bootloader, always ready to spring into action from USB drives, CDs, or even the vast realm of network booting. But Syslinux isn’t just about flexibility; it’s also a chameleon, adapting to fit your specific needs and whims. With its extensive customization options, Syslinux lets you craft boot menus, fine-tune parameters, and shape boot behaviors to your heart’s content.
Features
- Versatility: BIOS, UEFI, PXE? Syslinux says, “Bring it on!” Supporting multiple boot methods and protocols like a multi-talented performer.
- Customization: Syslinux loves a good makeover. Customize boot menus, set parameters, and tweak behaviors to your heart’s desire.
- Lightweight: Designed for efficiency, Syslinux is the go-to for booting from limited resources without breaking a sweat.

#6: BSD Bootloader (such as GRUB2 for BSD)
The BSD boot loaders, the specialized maestros tailored for the BSD elite! Operating systems like FreeBSD, OpenBSD, and NetBSD march to the beat of their own drum, and their boot loaders are no exception. While they often draw inspiration from the likes of GRUB2 or other adaptable boot loader projects, these BSD-specific boot loaders have their own unique flair and functionality. Designed to cater to the nuances of BSD operating systems, they offer features and capabilities that resonate with the BSD ethos.
Features
- BSD Support: Tailored for BSD operating systems, these boot loaders understand the nuances of BSD like no other.
- GRUB2 Adaptation: Some boot loaders, like those based on GRUB2, offer a bridge to the wider world of GRUB features and customizations.
- BSD-Specific Features: Beyond the basics, BSD boot loaders cater to the unique needs of BSD systems, supporting special file systems, boot environments, and kernel modules.

In the grand tapestry of computing, boot loaders weave the threads that hold our systems together. Whether it’s the versatile GRUB, the steadfast LILO, the Windows-centric Boot Manager, the modern UEFI, the adaptable Syslinux, or the specialized BSD boot loaders, each has its role to play.
Choosing the right bootloader is like choosing the right tool for the job; it depends on your needs, preferences, and the OS landscape you navigate. So, next time you boot up, tip your hat to these unsung heroes of the digital age. After all, they’re the ones getting your system off the ground!
At Last, Explaining Bootable Devices
Ah, the bootable device, that indispensable cornerstone of computer startup magic! Picture it as the stage where your computer’s operating system takes its first bow. Whether it’s a trusty hard drive, SSD, a vintage floppy disk, or a sleek USB flash drive, these hardware heroes carry the essential data needed to kickstart your computer’s OS, bootable utility software, or firmware during those pivotal startup moments.
Now, what makes a device worthy of the “bootable” title? Well, it’s not just about storing data; it’s about compatibility and having the right files onboard. For instance, a bootable device tailored for an MS-DOS/PC DOS/DR-DOS PC would sport a valid boot sector, complete with volume boot records, IO.SYS or IBMBIO.COM, MSDOS.SYS or IBMDOS.COM, and of course, COMMAND.COM. Quite the lineup, isn’t it?
But these bootable wonders aren’t just one-trick ponies. From OS installations and data recovery to BIOS flashing and software demos, their versatility knows no bounds. They can even serve as temporary operating environments or a secret backdoor when passwords go MIA. And to up their game, some boot programs even tap into system RAM, using it as a makeshift RAM disk for temporary file storage.
Creating a bootable device? No sweat! Whether you’re loading up the first 512 bytes of a boot floppy or crafting a bootable USB drive or CD/DVD-Disc using specialized software, the tools and methods are aplenty. Just remember, the device you choose should be the one with the installed system files, and don’t forget to set the boot sequence in the BIOS to point to your chosen bootable wonder.
- Create A Multi-Bootable USB Flash Drive Using YUMI
- Make Bootable USB Flash Drive By “Rufus”
- Create A Bootable USB Flash Drive Using CMD Command Prompt
But what if disaster strikes, and you’re met with the dreaded “No bootable device found” error message? Fear not! This cryptic message could be the result of various culprits, from booting from an unbootable device and damaged hardware to a virus attack or motherboard mischief.
But with a bit of troubleshooting magic, like reseating hardware components, tweaking the BIOS boot sequence, or using a bootable disk or USB drive to repair the OS, you can often breathe life back into your bootable journey. So, the next time you encounter the “No bootable device” dilemma, remember, it’s just another chapter in the epic saga of computer booting adventures!
- Operating System Not Found – What it is & How to Fix it?
- Reboot And Select Proper Boot Device – Explained with Solutions
- Solutions To Fix, “Disk Boot Failure Insert System Disk And Press Enter” Startup BIOS Error


dear madhurji
very well information provided
thank you
thank you for giving information
Dear madhurji
Than you from your information
thanks for the tip 🙂